· 7 min read
How to Publish Your MCP Server to the Official Registry: A Complete Guide
Learn how to publish your MCP server to the official Model Context Protocol registry with step-by-step instructions and real-world examples.
Copy a command, then paste it into the command palette (Ctrl K to open).
Introduction
The Model Context Protocol (MCP) ecosystem just got a major upgrade. With the launch of the MCP Registry Preview in early September, developers now have an official, centralized platform to share and discover MCP servers. This new registry promises to streamline the process of finding and integrating AI tools and data sources.
In this comprehensive guide, I'll show you exactly how to publish your own MCP server to this registry, using my real-world experience publishing the slimcontext-mcp-server as a practical example.
What You'll Need Before Starting
Getting your server ready for publication requires a few key components:
Essential Requirements:
- A functional MCP server (local or deployed)
- Basic understanding of MCP architecture (servers, clients, tools)
- GitHub account for repository hosting
- Package distribution setup (npm, PyPI, etc.) if applicable
Optional but Recommended:
- Testing with MCP Inspector for validation
- Continuous integration setup for automated publishing
If you don't have an MCP server yet, consider forking the slimcontext-mcp-server repository as a starting point, just remember to update all metadata to reflect your own project.
If you plan to follow the npm distribution method shown in this example, you'll also need to publish your forked package to npm. The repository includes a GitHub Action (ci.yml) that automatically handles npm deployment when you create a git tag, but you'll need to add your NPM_TOKEN as a repository secret in your GitHub settings for the automation to work.
Understanding the MCP Registry Landscape
The MCP Registry serves as the foundational layer of a broader ecosystem. According to the official announcement, this registry operates on multiple levels:
The Central Registry acts as the authoritative source where developers publish their servers. Think of it as the "source of truth" for all publicly available MCP servers.
Public Marketplaces can build on top of this central registry, creating curated collections tailored to specific use cases or audiences. Each marketplace might add its own ratings, categories, or enhanced metadata.
Private Enterprise Registries allow organizations with strict security requirements to maintain internal catalogs while still benefiting from the standardized API structure.
This layered approach means publishing to the official registry gives your server the widest possible reach across the entire MCP ecosystem.
Real-World Example: Publishing slimcontext-mcp-server
Let me walk you through publishing an actual MCP server to illustrate the process. Slimcontext is a JavaScript library I created to tackle a common problem in AI applications: managing increasingly long conversation histories.
The original Slimcontext was designed for Node.js applications, but I wanted to make its conversation compression capabilities available to any AI system, regardless of the programming language. By wrapping it in an MCP server, I exposed Slimcontext's functionality as standardized MCP tools that any compatible client can use.
Step-by-Step Publishing Process
Pre-Publication Validation
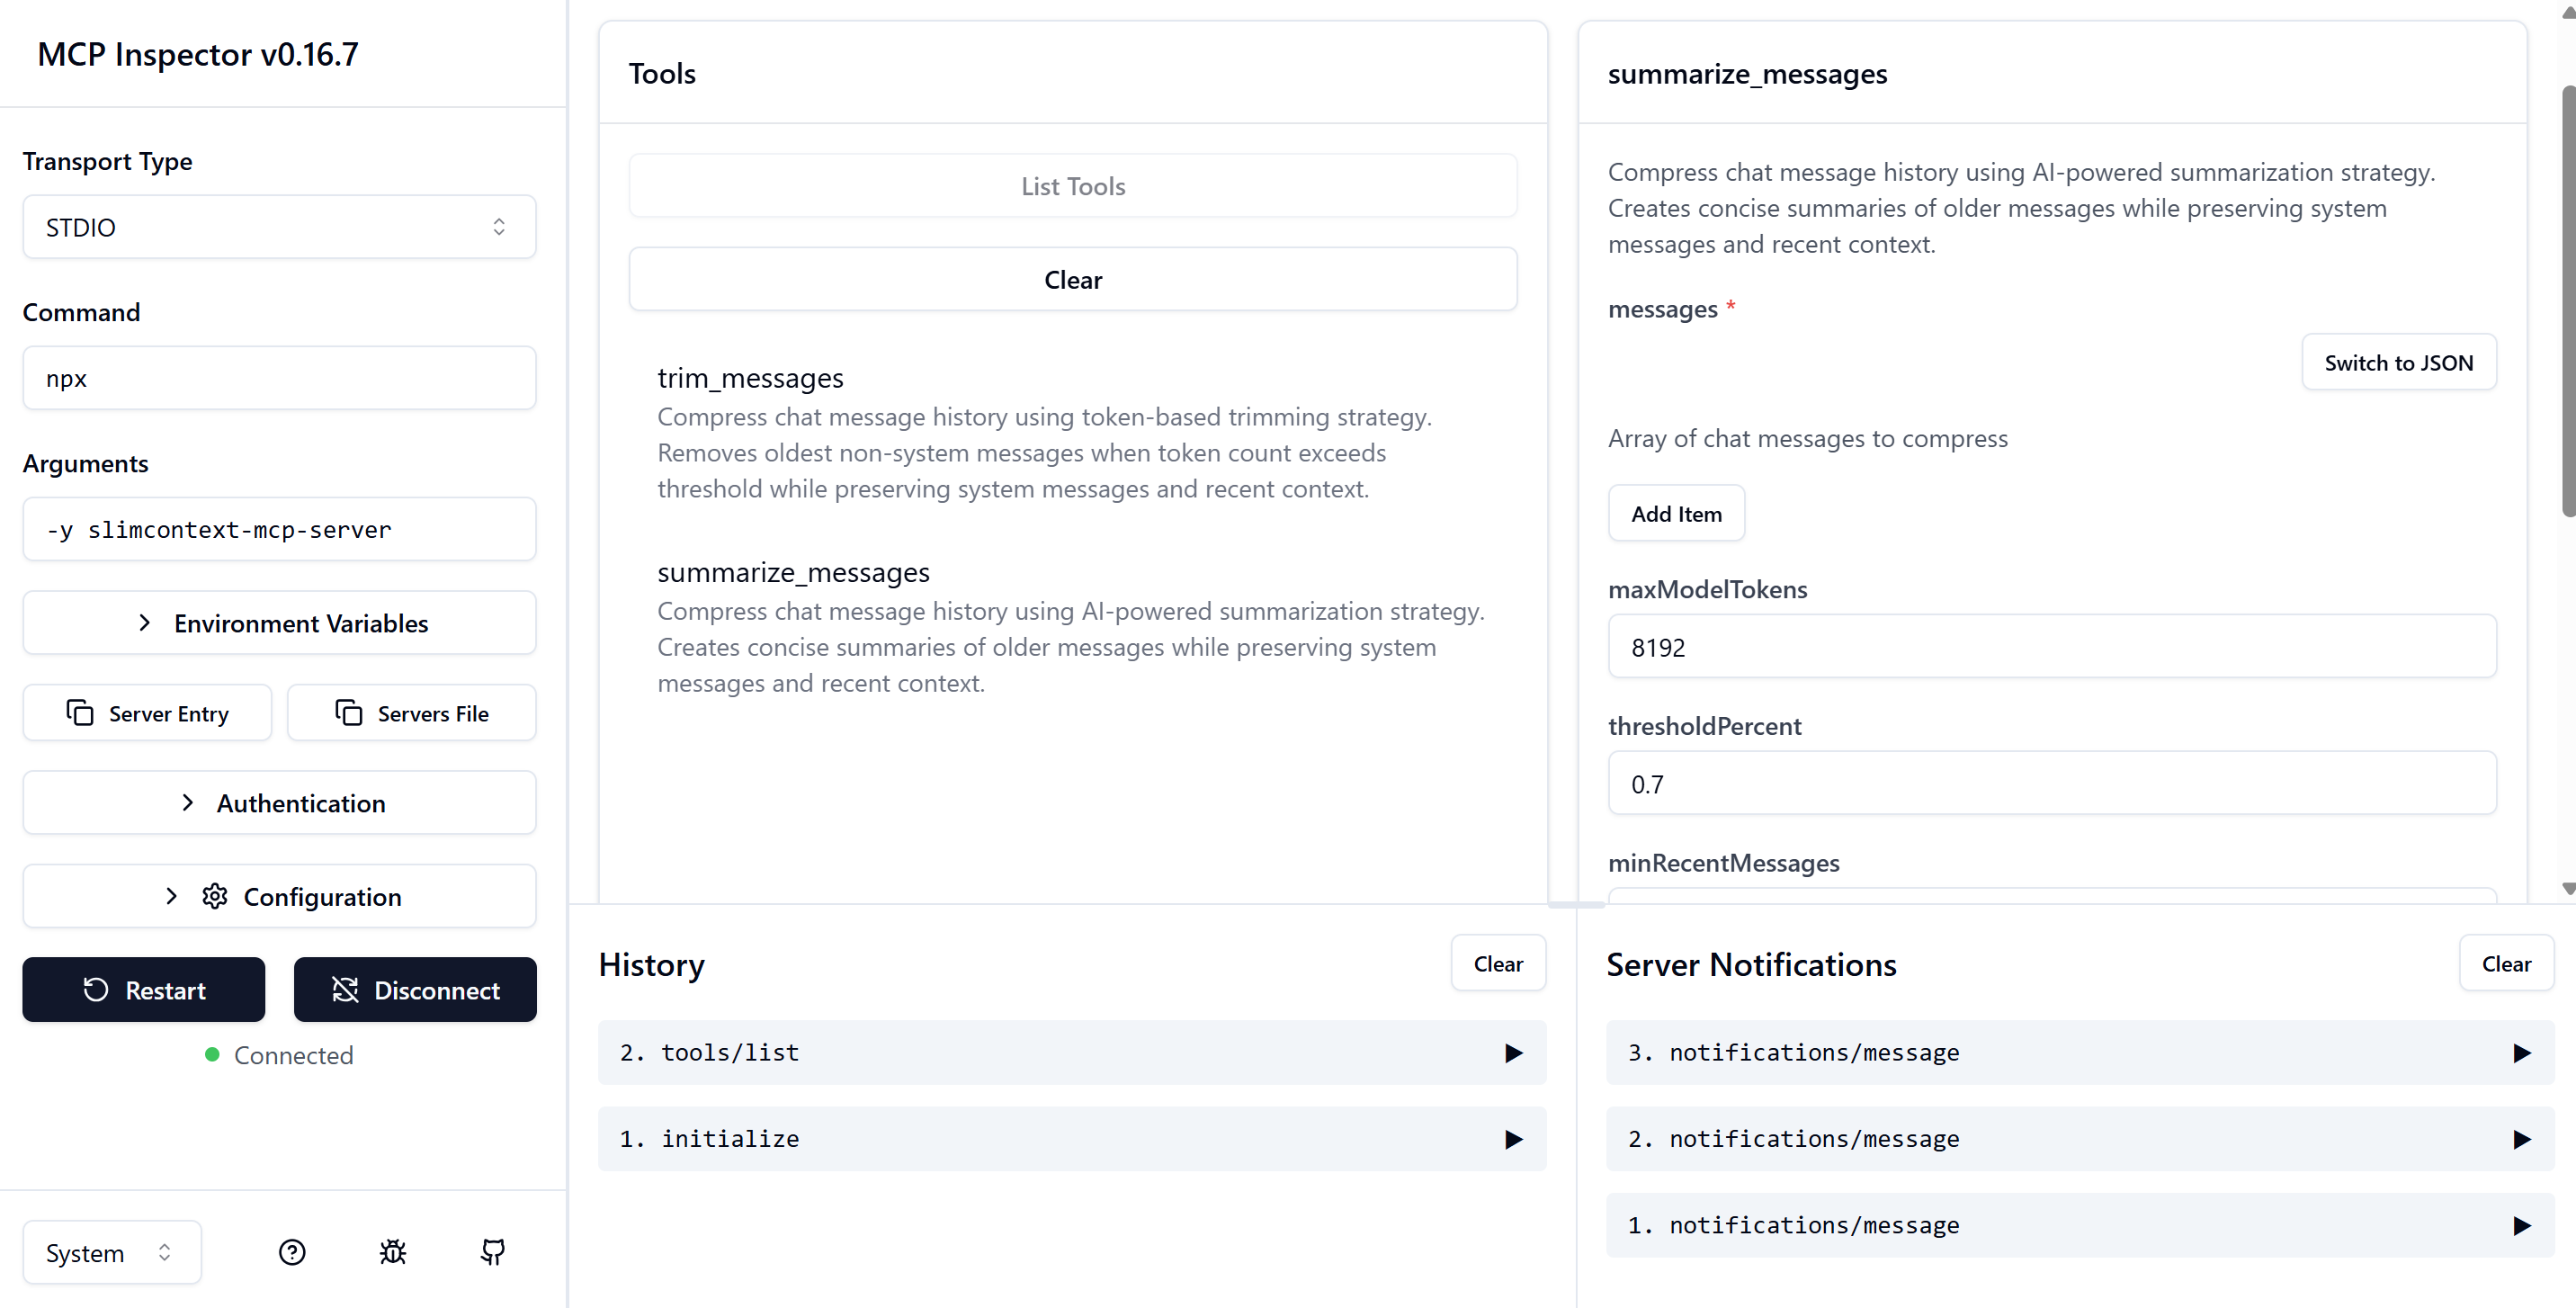
Before submitting to the registry, validate your server using the MCP Inspector tool:
# npx -y your-server-name if you already published to npm
# Otherwise, use the local command to run your server e.g. node server.js
npx @modelcontextprotocol/inspector npx -y your-server-name
For my slimcontext server:
npx @modelcontextprotocol/inspector npx -y slimcontext-mcp-server
1. Install the Publishing Tools
The MCP team provides multiple installation options for the publisher CLI:
macOS/Linux/WSL (Recommended):
brew install mcp-publisher
Build from Source:
git clone https://github.com/modelcontextprotocol/registry
cd registry
make publisher
export PATH=$PATH:$(pwd)/bin
Windows PowerShell:
$arch = if ([System.Runtime.InteropServices.RuntimeInformation]::ProcessArchitecture -eq "Arm64") { "arm64" } else { "amd64" }
Invoke-WebRequest -Uri "https://github.com/modelcontextprotocol/registry/releases/download/v1.0.0/mcp-publisher_1.0.0_windows_$arch.tar.gz" -OutFile "mcp-publisher.tar.gz"
tar xf mcp-publisher.tar.gz mcp-publisher.exe
rm mcp-publisher.tar.gz
2. Generate Your Server Configuration
Navigate to your server directory and create the initial configuration:
cd /path/to/your/server
mcp-publisher init
This command analyzes your project and generates a server.json file with auto-detected metadata. Here's what mine looked like:
{
  "$schema": "https://static.modelcontextprotocol.io/schemas/2025-07-09/server.schema.json",
  "name": "io.github.agentailor/slimcontext-mcp-server",
  "description": "MCP Server for SlimContext - AI chat history compression tools",
  "status": "active",
  "repository": {
    "url": "https://github.com/agentailor/slimcontext-mcp-server",
    "source": "github"
  },
  "version": "0.1.2",
  "packages": [
    {
      "registry_type": "npm",
      "registry_base_url": "https://registry.npmjs.org",
      "identifier": "slimcontext-mcp-server",
      "version": "0.1.2",
      "transport": {
        "type": "stdio"
      },
      "environment_variables": []
    }
  ]
}
3. Configure Package Distribution
If you're distributing via npm (currently supports public packages only), add the MCP name to your package.json:
{
  "name": "slimcontext-mcp-server",
  "version": "0.1.2",
  "mcpName": "io.github.agentailor/slimcontext-mcp-server"
}
This creates a verification link between your npm package and your registry entry. The registry will fetch your package metadata and confirm the mcpName field matches your registered server name.
You can find all the other distribution methods and their required metadata in the official documentation.
4. Authenticate Your Identity
Since I'm using GitHub as the source repository, authentication uses GitHub OAuth:
mcp-publisher login github
This command opens your browser for device authorization. After completing the OAuth flow, make sure to add the generated token files to your .gitignore:
# Add to .gitignore
.mcpregistry_github_token
.mcpregistry_registry_token
5. Publish to the Registry
With everything configured, publish your server:
mcp-publisher publish
Important Note: The registry is currently in preview mode with high traffic. I had to retry the publish command several times before it succeeded. Also ensure your npm package is already published if using npm distribution—the registry validates package existence during submission.
6. Verify Your Publication
Confirm your server appears in the registry:
curl "https://registry.modelcontextprotocol.io/v0/servers?search=your-server-name"
A successful response includes your server metadata plus registry-specific information like publication timestamps and unique identifiers. For slimcontext, it looks like this:
{
  "$schema": "https://static.modelcontextprotocol.io/schemas/2025-07-09/server.schema.json",
  "name": "io.github.agentailor/slimcontext-mcp-server",
  "description": "MCP Server for SlimContext - AI chat history compression tools",
  "status": "active",
  "repository": {
    "url": "https://github.com/agentailor/slimcontext-mcp-server",
    "source": "github"
  },
  "version": "0.1.2",
  "packages": [
    {
      "registry_type": "npm",
      "registry_base_url": "https://registry.npmjs.org",
      "identifier": "slimcontext-mcp-server",
      "version": "0.1.2",
      "transport": {
        "type": "stdio"
      },
      "environment_variables": []
    }
  ]
}
Common Publishing Challenges
Based on my experience and community feedback, here are the most frequent issues:
High Traffic Delays: The preview registry experiences periodic slowdowns. Be patient and retry failed publishes.
Package Validation Errors: Ensure your distributed package (npm, PyPI, etc.) is publicly accessible before attempting registry publication.
Authentication Token Issues: Token files are created locally and should never be committed to version control.
Metadata Mismatches: Double-check that version numbers match between your server.json, package files, and repository tags.
Beyond Publication: Registry Ecosystem
Publishing to the official registry is just the beginning. Your server becomes discoverable through:
- The official MCP Registry API
- Third-party marketplaces and catalogs
- Enterprise-specific registries that sync with the official source
- Client applications with built-in server discovery
This multi-layered distribution means a single publication reaches diverse audiences across the MCP ecosystem.
Looking Forward
The MCP Registry represents a significant step toward standardizing AI tool discovery and integration. While currently in preview with moderated submissions, it's laying the groundwork for a robust ecosystem of interoperable AI capabilities.
For developers building MCP servers, early participation in this registry offers the opportunity to establish presence in what's likely to become the primary distribution channel for MCP tools.
Additional Resources
- Official MCP Registry Announcement
- MCP Specification Documentation
- Registry Publishing Troubleshooting Guide
- Slimcontext Project Repository
The MCP Registry is currently in preview mode with active development. Some features and processes described here may evolve as the platform matures.